Adding RAM often seems like a simple operation, yet sometimes after installation, the computer refuses to start. This article breaks down the most common causes, proposes a step-by-step diagnostic method, and details concrete solutions — from physical readjustment to BIOS configuration, including stability tests. Intended for experienced DIYers as well as professional technicians, the text emphasizes safety, compatibility, and pragmatic checks that avoid unnecessary failures.
Somaire
In brief
⚠️ Compatibility: most failures come from **frequency**, voltage, or type (DDR3/DDR4) incompatibility. Check the motherboard specifications before purchasing.
🧰 Quick diagnosis: remove the new sticks, test them one by one, inspect the notches and contacts. Use a single known good module to isolate the problem.
🔧 BIOS settings: sometimes an XMP/DOCP setting or a BIOS update is enough to recognize the RAM. Don’t forget the update if the model is recent.
🧪 Memory tests: run a dedicated utility (e.g. MemTest) to validate stability. If repeated errors occur, replace the stick or request an RMA.
Why a PC might refuse to start after adding RAM
RAM is often assumed to be interchangeable, but the reality is more subtle: several parameters must align. The motherboard, processor, and memory must share the same protocol (DDR generation), compatible voltages, and — ideally — similar latency profiles. When these elements diverge, the motherboard can detect an anomaly at POST (Power-On Self Test) and block startup to protect the system.
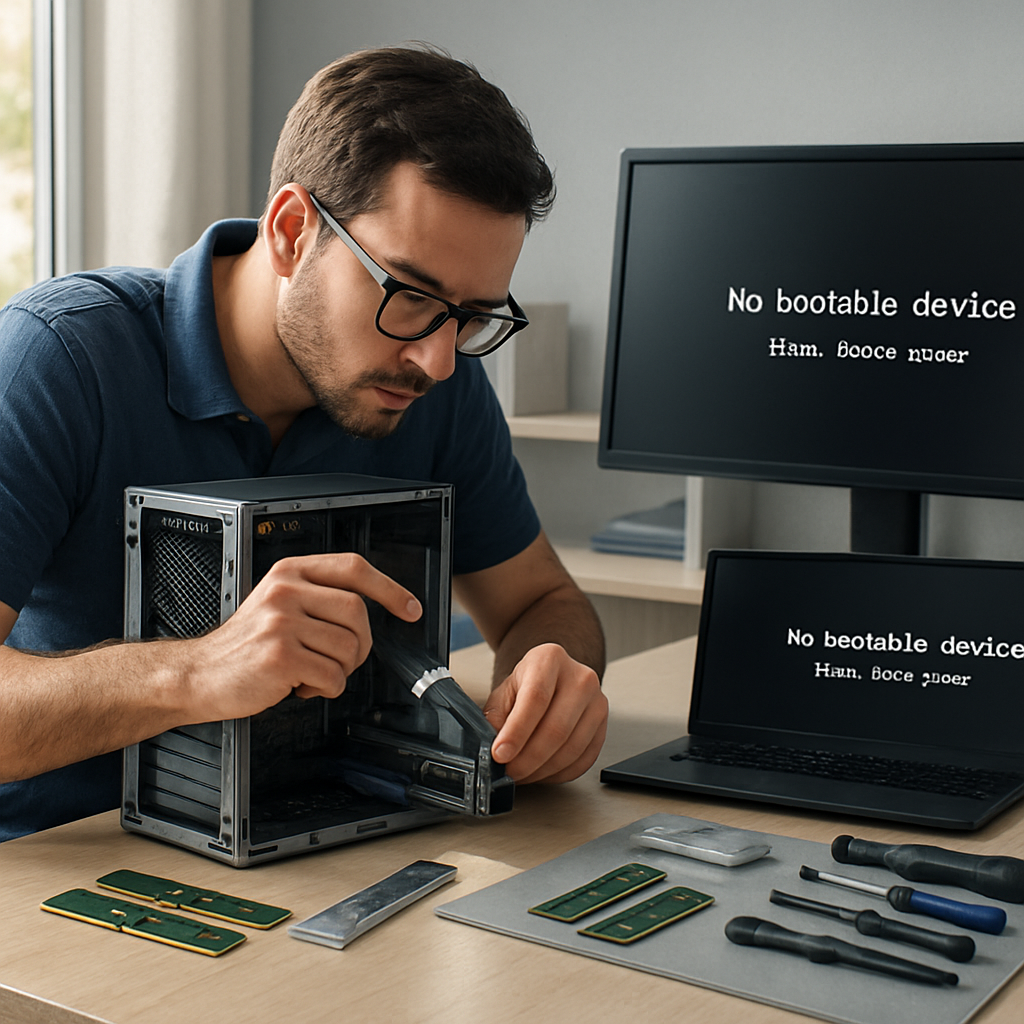
There are also purely mechanical causes: wrong slot, dust, unlatched clips, or poor contact. Finally, the BIOS/UEFI may require an update to support recent modules or XMP profiles. These situations manifest through varied symptoms — black screen, beeps at startup, diagnostic LEDs — and require a structured method to be resolved.
Common symptoms and interpretation
Identifying the exact behavior of the PC is the first step. A black screen does not have the same cause as a PC that starts then crashes under Windows. Observing and noting the signs guides the next actions:
| Symptom | Possible Interpretation |
|---|---|
| Black screen, no beeps | Power supply, motherboard does not pass POST, RAM not detected |
| Repeated beeps at startup | Memory error (depending on the motherboard code) |
| Startup then blue screen or reboot | Stability issues related to RAM (timings, voltage, errors) |
| Computer works but RAM is not fully recognized | Incompatible module, limited BIOS, or defective slot |
Step-by-step diagnostic procedure
The most effective method combines hardware exclusion and software tests. Here is a logical sequence, tested in workshop, which avoids unnecessary handling.
1. Safety and preparation
Turn off the power, unplug the power cable and press the power button for a few seconds to discharge residuals. Work on a non-conductive surface and use an anti-static wrist strap if possible. These precautions prevent damage to the motherboard or RAM sticks.
2. Check the physical installation
Open the case and check the following points:
- Is the RAM stick fully inserted? Are the latches locked on both sides?
- Do the module notches match the slot? (a DDR4 module does not fit into a DDR3 slot)
- Presence of dust or foreign objects in the slot? A blast of dry air (no alcohol) can help.
Often, a simple realignment and firm (but controlled) pressure is enough to restore contact.
3. Test modules individually
Remove all sticks and leave only one stick, ideally the original one if it worked before. Start the computer. If the PC starts with one stick but not the other, the fault is probably with the new stick or the associated slot.
- Test each stick in each available slot to identify a defective slot.
- If several identical sticks are used, check operation in single-channel then dual-channel mode.
4. Observe POST codes and LEDs
Modern motherboards display a POST code or LEDs indicating the blocked step. Consult the motherboard manual to decode these signals. Repeated beeps also have different meanings depending on the BIOS (AMI, Award, Phoenix).

Compatibility and BIOS/UEFI settings
Compatibility is not just a matter of DDR generation. Frequency, timings (CL, tRCD, tRP), voltage (1.2V, 1.35V), and XMP/DOCP profiles influence stability. Installing two sticks different in capacity or frequency can cause conflicts, even if they are physically compatible.
The BIOS sometimes offers automatic profiles that activate higher voltages to reach the frequency announced by the manufacturer. If the system does not support this profile, it refuses to start. In practice: disable XMP/DOCP, let the BIOS manage the frequency by default, then test. If necessary, gradually increase the voltage or manually adjust the timings — but this requires caution and understanding.
Testing Memory: Tools and Interpretation
A thorough memory test allows you to differentiate a defective RAM stick from a simple configuration conflict. MemTest86 or the Windows diagnostic tool (mdsched) are the standards. MemTest86, run from a bootable USB key, performs multiple passes and detects repeated errors that indicate a faulty module.
- Perform at least one complete pass (several hours depending on the amount of RAM).
- If errors appear, note the address and pattern: they confirm a hardware problem.
- The absence of errors does not completely rule out a subtle incompatibility but makes the likelihood of a faulty stick improbable.
Special Cases and Common Pitfalls
Several situations frequently arise during troubleshooting:
- The motherboard lists a maximum capacity per slot: exceeding this value prevents recognition.
- Mixing ECC and non-ECC modules: often incompatible on consumer PCs.
- RAM sticks from laptops (SO-DIMM) inserted into desktop slots (DIMM) — beware of formats.
- Power supply issues: a significant increase in RAM consumption on some setups can reveal insufficient power supply.
The manufacturer’s documentation (datasheet, QVL — Qualified Vendor List) is valuable: it lists tested and compatible modules. In the workshop, cross-referencing the RAM stick’s reference with the QVL helps avoid risky trials.
When to Replace or Return RAM?
If a module triggers errors in MemTest86, or if it never works properly regardless of the slot, replacement should be considered. Keeping records of the tests (screenshots or photos of POST codes) facilitates claims with the seller or manufacturer.
Before RMA, testing the stick in another compatible system provides additional proof. If the module also fails elsewhere, the probability of a hardware defect is very high and the return procedure is justified.
Practical Tips to Avoid Failure
Prevention: buy RAM kits sold and tested in pairs, check the motherboard’s QVL, and consider the PSU’s power margin. For overclockers, anticipate the need for slightly higher voltage and appropriate cooling. Finally, keeping documentation and exact module references makes any support process easier.
- Prefer certified kits (same frequency and timings).
- Check the BIOS and apply an update if hardware support is recent.
- Test each component after installation, not just once the system is assembled.
In Case of Failure: Call a Professional
If you have exhausted diagnostic steps and the failure persists, an equipped technician can perform more advanced tests (oscilloscope, bench tests, checking the DRAM power circuit on the motherboard). They can also apply microcode updates or identify physical defects invisible to the naked eye.
If the hardware is under warranty, using after-sales service is often faster than prolonged handling that risks voiding the warranty.
FAQ
My PC gives no beep after adding RAM: what should I do first?
Unplug the power, remove and reinsert the RAM stick ensuring the latches are locked. Then test with a known good stick. If nothing changes, try another slot and check the power supply.
Can I mix sticks of different brands and frequencies?
Technically yes, but it is not recommended. The system will often adjust to the lowest frequency and lock timings that can harm stability. To avoid crashes, favor identical kits.
The BIOS offers an XMP profile, is it safe to enable it?
XMP activates optimized settings provided by the memory manufacturer. If the system does not boot with XMP, disable it and leave the BIOS default configuration. Enabling it is generally safe if the motherboard supports the RAM and the BIOS is up to date.
How to interpret MemTest86 errors?
An error indicates a corrupted bit or a physical problem. Note the address and pattern, repeat the pass to confirm. Multiple passes with identical errors confirm a hardware failure.
{
“@context”: “https://schema.org”,
“@type”: “Article”,
“headline”: “PC won’t start after adding RAM — diagnose and repair”,
“description”: “Practical guide to diagnosing a PC that won’t start after adding RAM: compatibility, tests, BIOS, and step-by-step solutions to restore stability.”,
“keywords”: [“RAM”, “PC startup”, “memory diagnosis”],
“mainEntity”: {
“@type”: “FAQPage”,
“mainEntity”: [
{
“@type”: “Question”,
“name”: “My PC gives no beep after adding RAM: what should I do first?”,
“acceptedAnswer”: {
“@type”: “Answer”,
“text”: “Unplug the power, remove and reinsert the stick ensuring the latches are locked. Then test with a known good stick.”
}
},
{
“@type”: “Question”,
“name”: “Can you mix sticks of different brands and frequencies?”,
“acceptedAnswer”: {
“@type”: “Answer”,
“text”: “Technically yes, but it is not recommended. The system will often adjust to the lowest frequency and stability may suffer.”
}
},
{
“@type”: “Question”,
“name”: “The BIOS offers an XMP profile, is it safe to enable it?”,
“acceptedAnswer”: {
“@type”: “Answer”,
“text”: “XMP activates optimized settings. If the system does not boot with XMP, disable it and use the BIOS default configuration.”
}
},
{
“@type”: “Question”,
“name”: “How to interpret MemTest86 errors?”,
“acceptedAnswer”: {
“@type”: “Answer”,
“text”: “An error indicates a corrupted bit or a physical problem. Repeat passes to confirm and note the error addresses.”
}
}
]
}
}
{
“@context”: “https://schema.org”,
“@type”: “WebPage”,
“about”: {
“@type”: “Thing”,
“name”: “PC that won’t start after adding RAM”
},
“keywords”: [“RAM”, “PC startup”, “compatibility”, “MemTest86”, “BIOS”]
}
