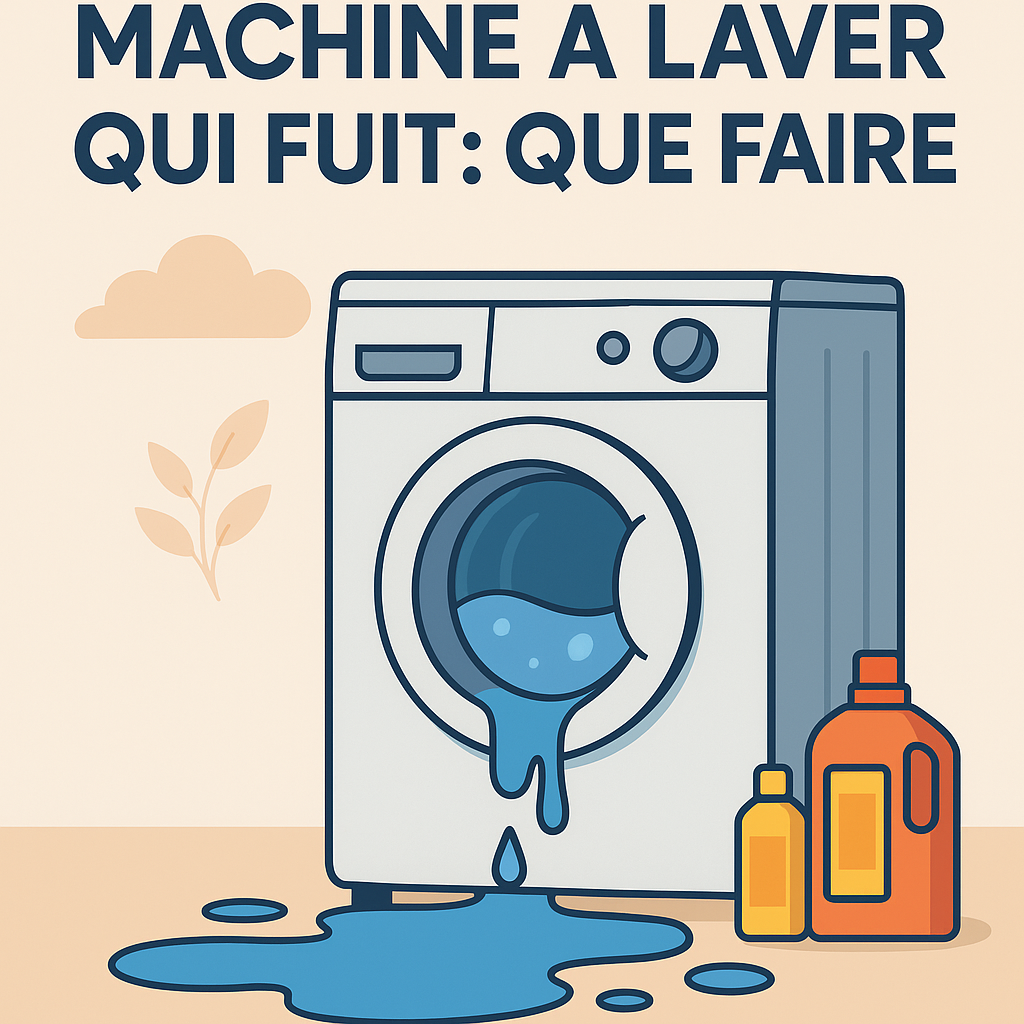
A puddle under the washing machine causes panic. Good news: in most cases, the cause is easy to identify and fix. Follow this accessible guide to quickly diagnose, repair without stress, and prevent it from happening again.
Somaire
1. Immediate Safety
Before touching anything, cut the power supply by unplugging the cord and close the water inlet. Mop up the water on the floor to avoid slipping and protect nearby furniture. Keep children/pets away, then gently pull the machine back 10–20 cm to observe where the water is coming from (top, front, back, underneath). This first step prevents further damage and gives you a clear view of the situation.
Tip: place a dry paper towel under each suspicious area (front, back, underneath). The one that gets wet first reveals the direction of the leak.
2. Where is the Leak Coming From?
The leak often points to the culprit. Four areas are responsible in 90% of cases:
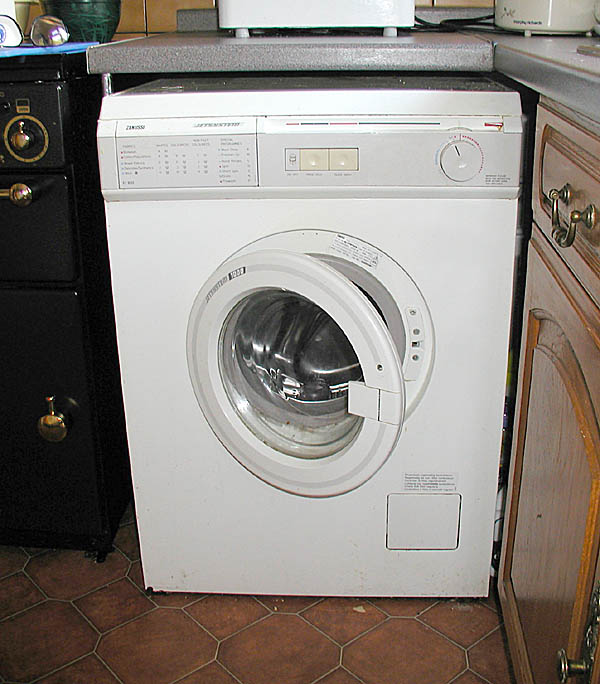
a) Front (door / facade)
On a front-loader, the door seal (door gasket) ensures watertightness. A dirty, pinched, or cracked seal allows water to seep out, especially during spinning. Excessive foam (too much detergent or the wrong type) can also overflow through the door. Finally, a trapped object (coin, staple) can damage the seal.
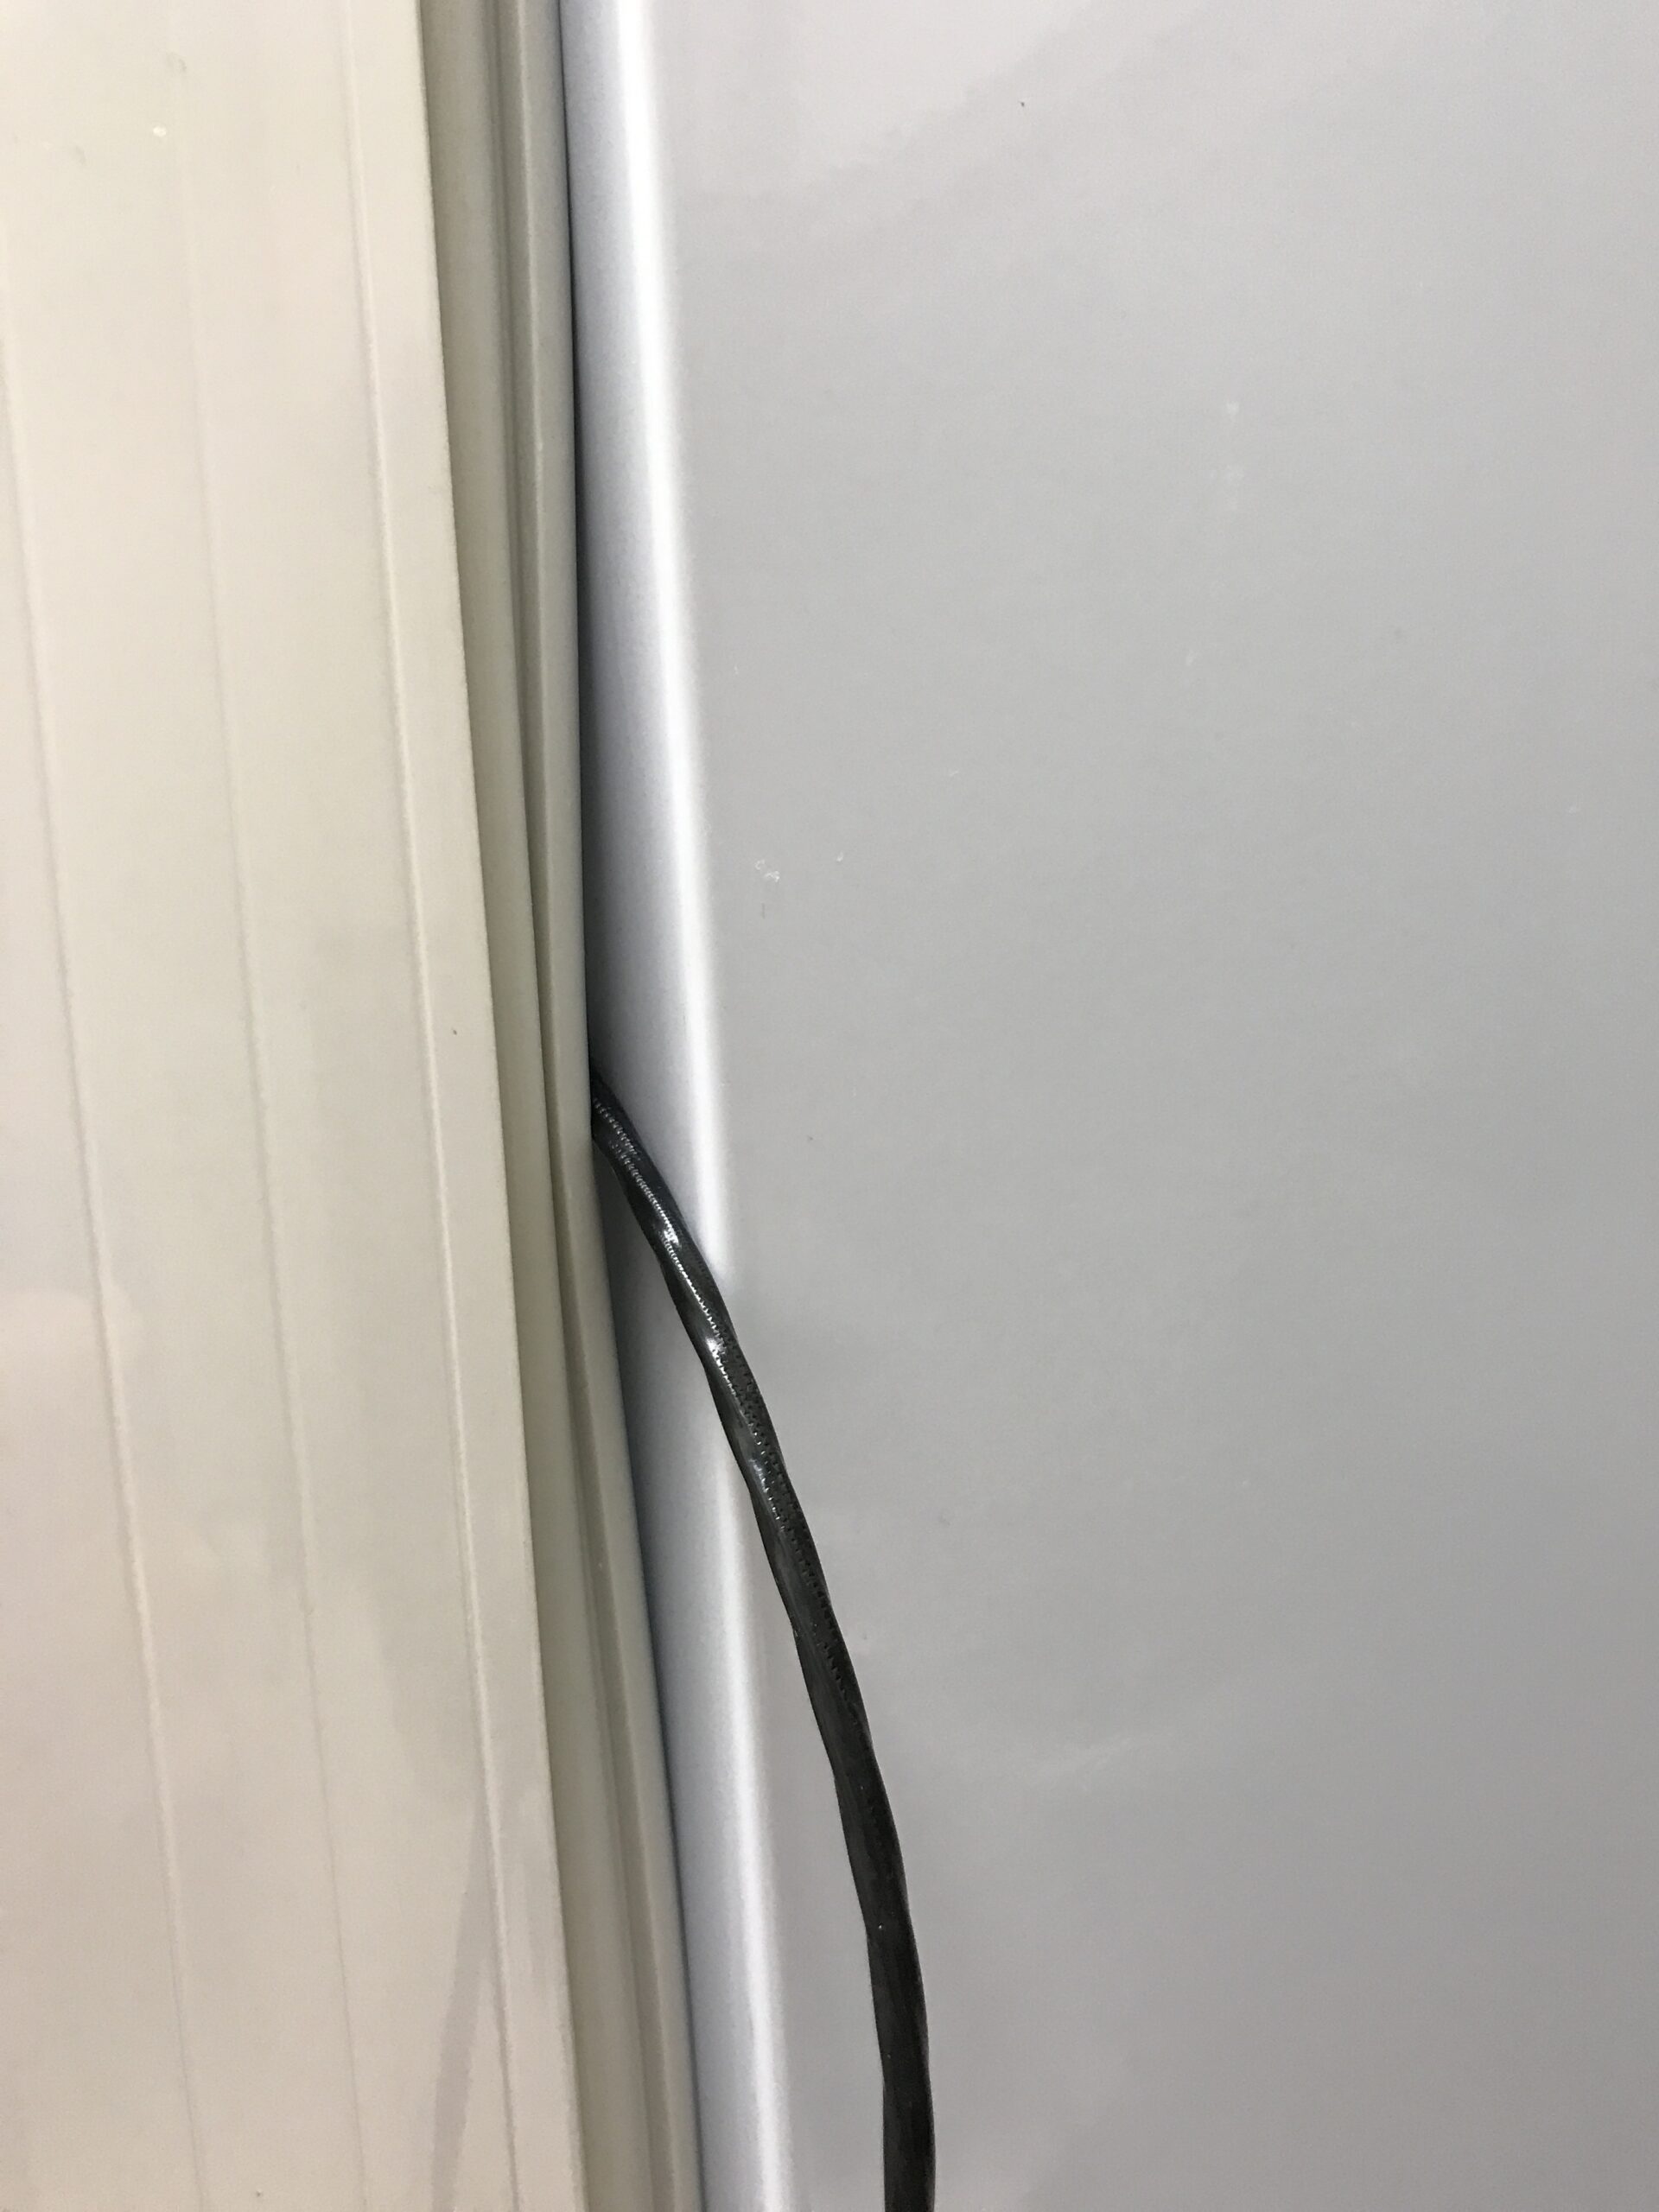
b) Back
At the back, there are the inlet hoses (cold/hot water) and the drain hose leading to the outlet. A loose connection, a worn hose (cracks, bulges), or a clogged filter in the water inlet valve cause persistent drips. Inlet hoses age: replace them every 5–7 years (ideally with stainless steel braided models).
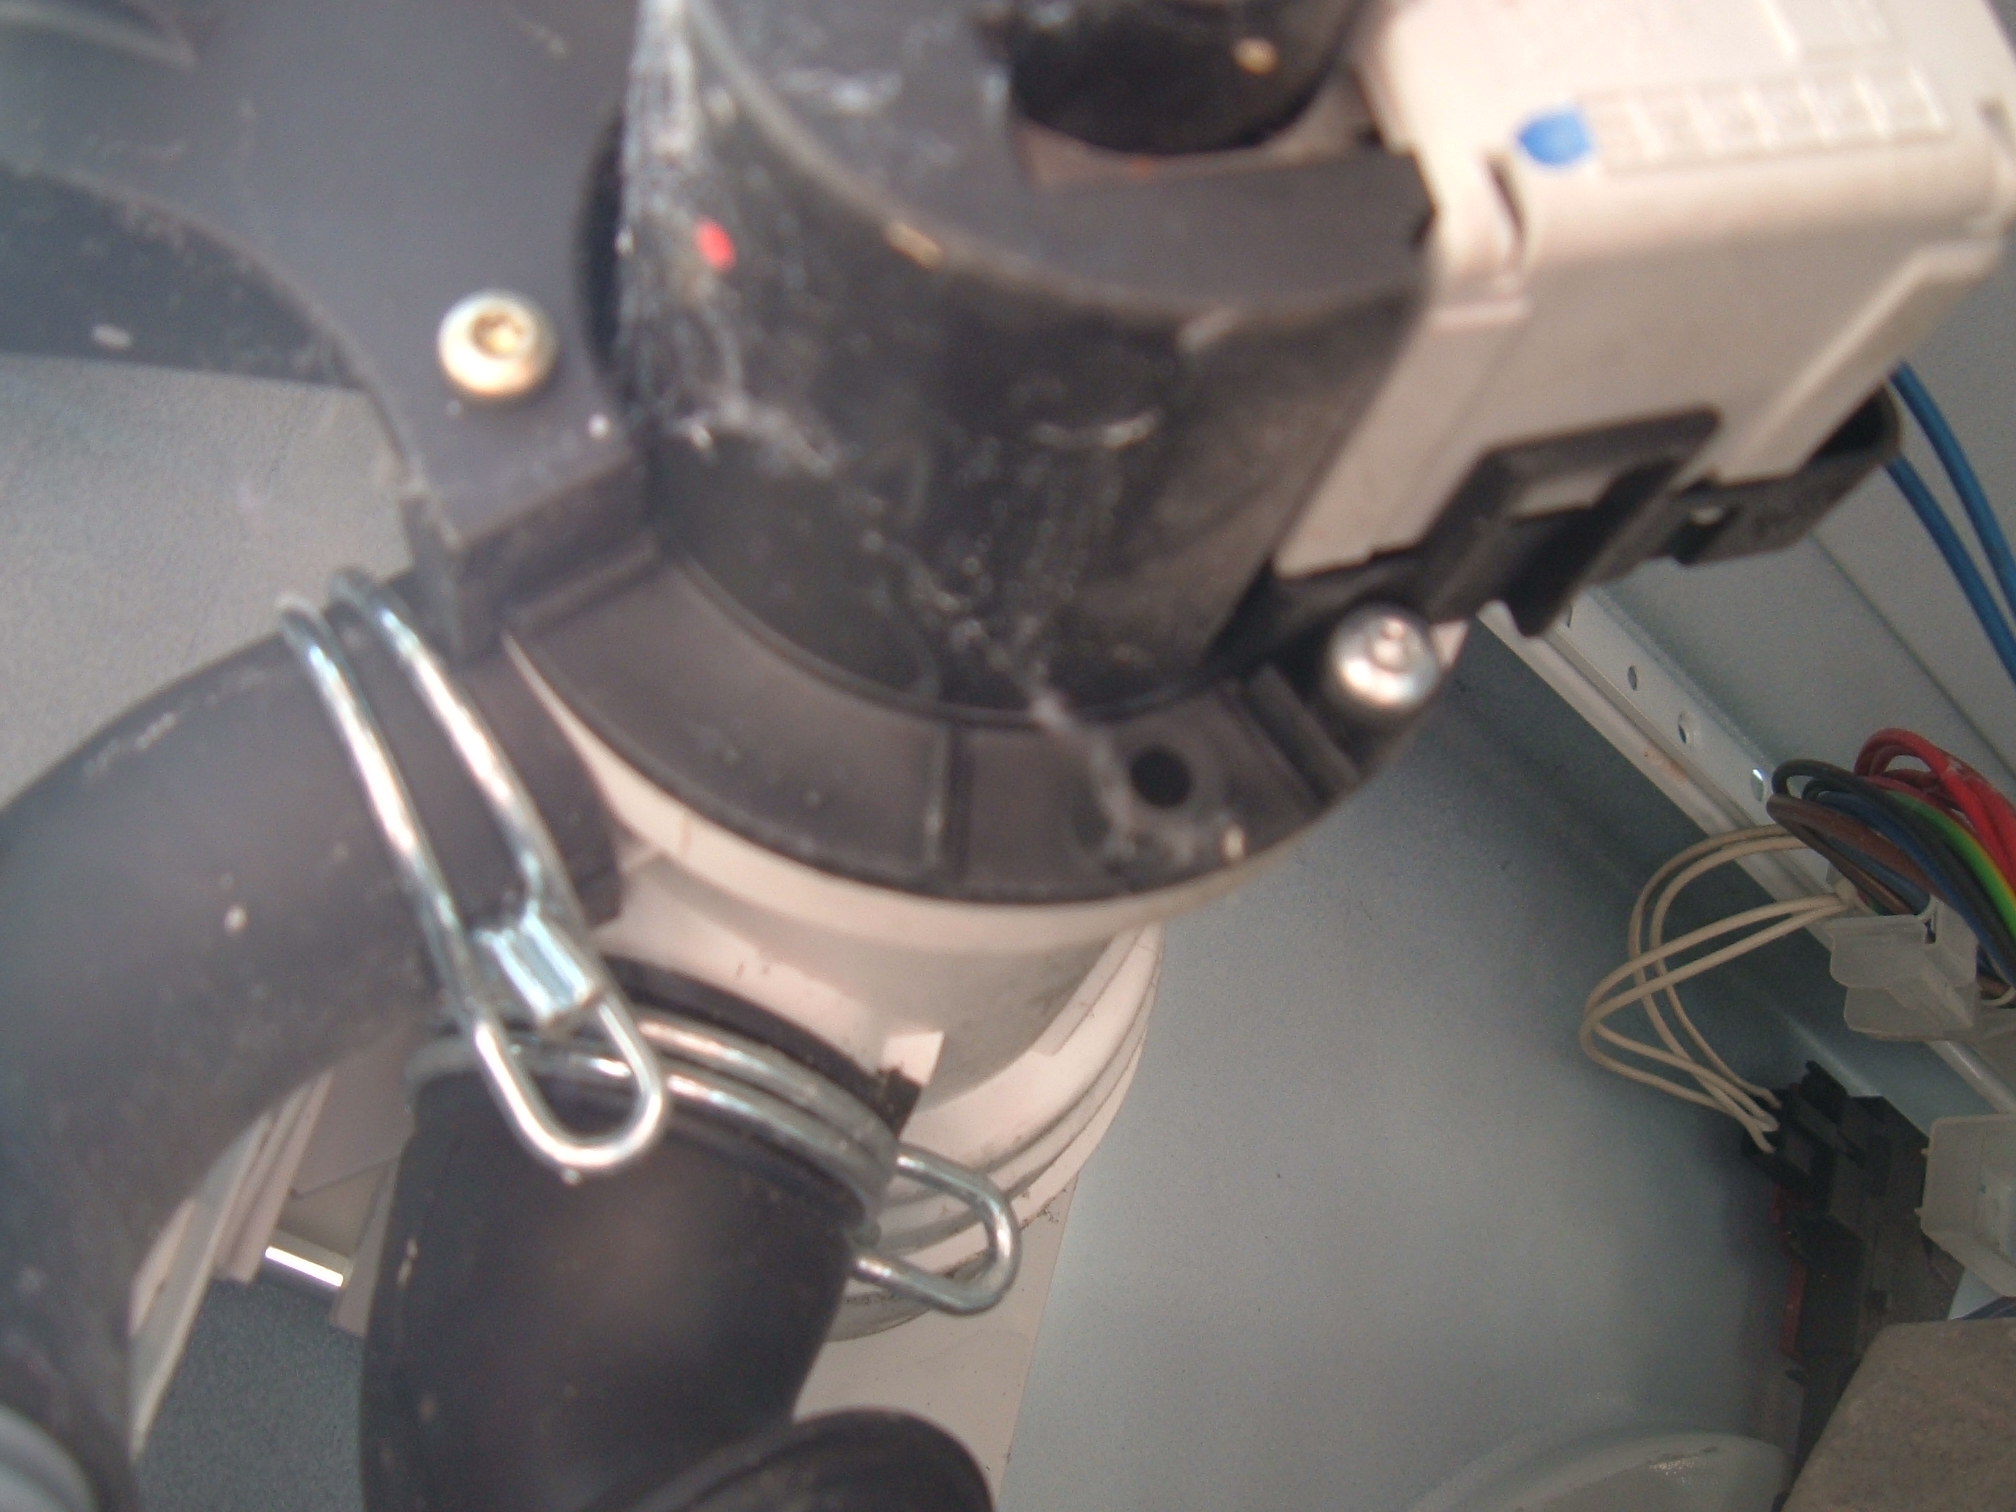
c) Underneath
The lower area houses the drain pump and large internal hoses (drum → pump, pump → outlet). A loose clamp, a cracked hose, or a leaking pump leaves a mark on the floor.
d) Vibrations & Shock Absorbers
Worn shock absorbers cause the drum to vibrate, wear out seals, and loosen clamps. If your machine “jumps” during spinning, inspect these parts.

3. Quick diagnosis in 10 minutes
- Level and stabilization: check with a spirit level. An unstable machine splashes water and strains the door seal.
- Door seal: clean with a cloth/vinegar, look for cuts/deformations. Gently run your finger along it: no snags.
- Back: tighten the inlet connections by hand then 1/8 turn with a wrench. Inspect the hoses: no bulges or cracks.
- Filter/pump: remove the front filter (prepare a basin), remove lint/objects, replace the plug correctly.
- Empty test: reconnect the water, start a rinse/spin cycle without laundry. Observe during filling and draining.
4. Simple repairs (seal, hoses, pump…)
Good news: most leaks can be fixed with minimal tools (screwdriver, adjustable pliers, wrench) and affordable parts. Here is the essentials, from most common to more technical.
4.1 Door seal (bellows)
If the seal is dirty, a cleaning is often enough (white vinegar, soft cloth). If it is pinched or cracked, opt for a replacement. Unclip the outer ring, go around to free the seal, position the new one respecting the marks, replace the ring without twisting it. Allow 30–60 min if you are meticulous.
4.2 Hoses and fittings
A hose that “drips” at the back or under the machine is often just loose. Tighten the clamp. If the hose is cracked or swollen, replace it with the correct diameter (note the reference on the old one). Also check the drain hose: no crushed bends; the evacuation height (usually 60–100 cm) must follow the manual.
4.3 Drain pump
Symptoms: puddles on the floor near the front/bottom, noise during draining, filter that gets dirty again. Check the cap seal and the two large hoses around the pump. If the pump leaks from its body, replace it (often 20–60 € excluding labor). Note the terminals (photo before disassembly), unscrew, reinstall respecting the orientation, then test.
4.4 Water inlet / valve
A constant drip at the back, machine off? Inspect the inlet valve (solenoid): remove the pipes, clean the small strainers and reassemble with new seals if needed. Replace the inlet hoses if older than 5 years (prefer braided stainless steel).
4.5 Overflow / pressure
An overflow at the front may indicate a problem with the overflow or the pressure switch (level sensor). Blow gently into the pressure switch hose (machine powered off) to check that it is not clogged. If in doubt, have it checked by a professional.
5. When to call a pro?
If the tank is cracked, if you notice an oil leak (in the center, brown/greasy tint), or if disassembly is beyond your comfort level, contact a technician. For common repairs (hose, pump, seal), the bill usually remains reasonable compared to a full replacement, especially if the appliance is less than 7–8 years old and in good overall condition.
6. Prevent future leaks
- Detergent dosage: too much detergent = overflowing foam + clogging.
- Monthly maintenance: empty cycle at 60°C with white vinegar or dedicated product.
- Biannual check: condition of hoses/clamps + tightening of rear fittings.
- Perfect leveling: adjust the feet, shim if necessary.
- Preventive replacement of inlet hoses every 5–7 years.
| Symptom | Likely Cause | Action |
|---|---|---|
| Drops in front of the door | Dirty/cut cuff | Clean or replace the seal |
| Continuous leak at the back | Loose fitting, worn hose | Tighten, replace the hose |
| Puddle on the floor after draining | Leaking pump | Replace seal/pump |
| Overflow during washing | Overflow/pressure switch | Unclog, professional check |
| Strong vibrations | Worn shock absorbers | Replace shock absorbers |
7. Step-by-step video
8. FAQ
Why does it only leak during spinning?
Water pressure and vibrations increase: a loose hose, a worn clamp, or a too dry door seal can let water through precisely at that moment.
The front filter is stuck, should I force it?
No. Turn off the water and unplug. Place a basin and loosen gradually to release the pressure. If it’s stuck, a deposit is blocking the thread: gently lever while turning without damaging the thread.
My water inlet hoses are over 8 years old, should I replace them?
Yes, it’s wise. Prefer stainless steel braided hoses and also change the seals. Take the opportunity to check the correct height of the drain hose.
The machine is new and it’s already leaking
Check that the transport lock (locking screw) is removed, the level, then the rear fittings. If the leak persists, contact customer service (warranty).
Top-loader (top opening): same diagnosis?
Yes, except for front-loaders: focus on hoses, pump, and inlet. These models leak less from the door, but not from the back or underneath.
Image credits: Adrian Pingstone (PD), Lizlemonhead (CC BY-SA 4.0), Poo~commonswiki (PD), Unsplash CC0 via Wikimedia Commons. Links: Wikimedia Commons.
