
Your printer freezes displaying a paper jam message, even though no sheet is actually stuck? This situation, both frustrating and surprising, can interrupt your tasks and delay your urgent prints. Rather than disassembling each part at random, it is better to understand the mechanisms involved, identify the source of the error, and apply targeted solutions.
🔍 Symptom: a “paper jam” message despite the absence of stuck paper, often due to a faulty sensor or a slight invisible obstruction.
⚙️ Diagnosis: check the condition and cleanliness of the sensors, observe the paper path, and test a mechanism reset to eliminate phantom blockages.
🛠️ Quick actions: gently clean the sensors with a lint-free cloth, update the printer firmware, and realign the drive rollers.
📅 Maintenance: establish regular maintenance, control paper humidity, and ensure the use of compatible consumables to avoid recurrence.
Somaire
Understanding the false jam
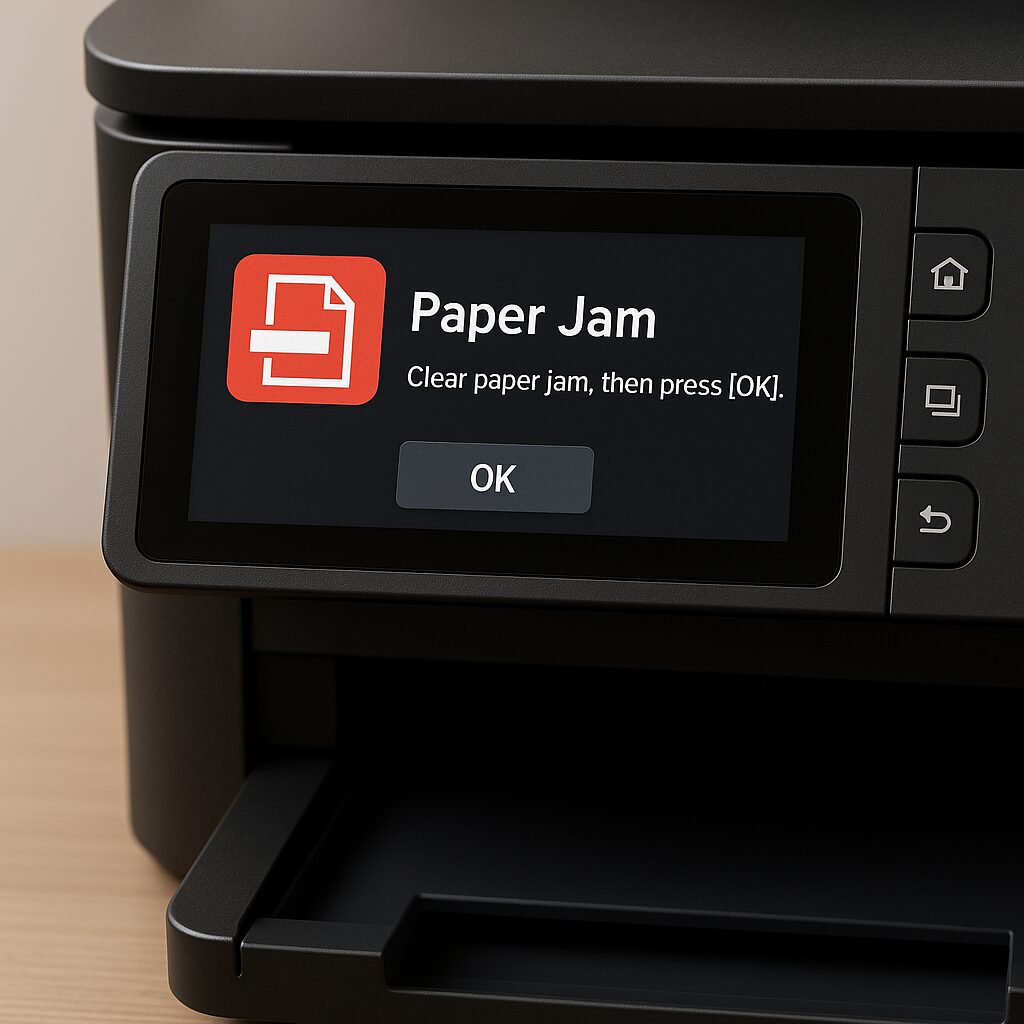
Imagine a red alert appearing on your printer screen, inviting you to remove a stuck paper… when there is nothing. This situation is often explained by a malfunction of optical or mechanical sensors. Inside the paper path, several detectors measure the passage of the sheet. If one of them sends an erroneous signal, the electronics interpret this reading as a blockage.
Additionally, small dust particles or paper fibers can infiltrate the mechanism, obstructing the paper path without being visible to the naked eye. In other cases, a simple electrical false contact is enough to trigger the alert. The printer then freezes to prevent a jam that does not exist.
Why can the printer be mistaken?
An optical sensor can be covered with a thin layer of dust or ink residue, which alters the detection of the sheet. Similarly, an imperceptible mechanical snag – a misaligned shaft or a weakened spring – causes a temporary blockage followed by a false detection. Sometimes, the firmware expresses a bug when reading the received information, and the error persists until the update.
The Role of Sensors in the Paper Path
There are generally three types of sensors:
- Infrared optical sensor: it sends a light beam and detects interruption when the paper passes through.
- Mechanical sensor (lever): a small arm lifts when the paper passes, confirming its movement.
- Electronic micro-switch: an internal trigger activates an electrical contact.
A malfunction in any of these components is enough to send a jam signal, even in the absence of paper.
Diagnostic Steps
Before considering part replacement, it is better to establish a simple diagnostic protocol. You will save time and avoid unnecessary expenses.
Check the Sensors
Open the access doors of the paper path and locate each sensor. Take a cotton swab lightly moistened with isopropyl alcohol and gently clean the lenses and surrounding areas. If the printer uses micro-switches, gently blow to remove dust. Then close and start a test print cycle.
Examine the Paper Feed
Rubber rollers wear out over time and may lose adhesion, slipping without properly advancing the paper. Remove the tray, visually inspect the rollers, then clean them with a damp cloth. If their surface is smooth or cracked, consider replacement. This simple maintenance not only prevents false jams but also improves feed quality.
Reset and Update
A complete restart often clears error messages remaining in memory. Turn off the printer, unplug it, wait thirty seconds, then plug it back in and turn it on. Take the opportunity to check on the manufacturer’s website for a firmware update: it frequently fixes detection bugs and improves overall stability.
| Symptom | Probable Cause | Recommended Solution |
|---|---|---|
| Jam alert without paper | Dirty optical sensor | Clean the lens |
| Intermittent blockage | Worn rollers | Cleaning or replacement |
| Persistent message after restart | Firmware bug | Update the internal software |
Quick Solutions
Some simple actions often unlock the situation in less than five minutes.
- Inspect and clean the sensors as described above.
- Check that the paper is loaded according to the format guides, neither too far left nor too far right.
- Open every unnecessary cover and ensure no small debris is blocking the mechanism.
- Perform a manual feed test: gently push a sheet into the path to see if it correctly triggers the sensors.
Prevention and Maintenance
Beyond occasional interventions, a maintenance protocol reduces the risk of false jams in the long term.
Regular Cleaning
Schedule a cleaning session every 3 to 6 months, depending on usage. Pay particular attention to sensors and rollers. Using a specific cleaning kit preserves the lifespan of components and limits dust.
Firmware Updates
Check quarterly for the availability of a newer firmware. Up-to-date internal software supports the latest optimizations and fixes detection anomalies. Some manufacturers offer automatic notifications via the PC utility.
FAQ
Why does my printer report a jam when there is nothing?
Most of the time, an optical or mechanical sensor is dirty or defective, causing a false alert. Cleaning and resetting solve the problem in 80% of cases.
How to quickly test if it is indeed a sensor causing the problem?
After cleaning, activate the sensor view on your printer (via the control panel or a utility). By placing a finger in front of each detector during printing, you will see if the signal changes.
What to do if the message persists after all checks?
As a last resort, contact the manufacturer’s technical support: they can guide you towards a sensor replacement or offer a standard exchange.
Can roller wear be prevented?
Use good quality paper, keep it away from humidity, and avoid overloading the tray. A clean and dry environment slows down the wear of friction surfaces.
{
“@context”: “https://schema.org”,
“@type”: “Article”,
“headline”: “Printer indicates a non-existent paper jam: what to do?”,
“description”: “Discover the causes of a phantom jam, how to diagnose a defective sensor, and quick actions to resolve this blockage without paper stuck.”,
“keywords”: [“jam”, “printer”, “sensors”, “maintenance”, “upkeep”],
“mainEntity”: {
“@type”: “FAQPage”,
“mainEntity”: [
{
“@type”: “Question”,
“name”: “Why does my printer report a jam when there is nothing?”,
“acceptedAnswer”: {
“@type”: “Answer”,
“text”: “An optical or mechanical sensor may be dirty or defective, causing a false alert. Cleaning and resetting often suffice.”
}
},
{
“@type”: “Question”,
“name”: “How to quickly test if it is indeed a sensor causing the problem?”,
“acceptedAnswer”: {
“@type”: “Answer”,
“text”: “Activate the sensor view via the control panel and gently block them with your finger during printing to check the response.”
}
},
{
“@type”: “Question”,
“name”: “What to do if the message persists after all checks?”,
“acceptedAnswer”: {
“@type”: “Answer”,
“text”: “Contact the manufacturer’s technical support to consider a sensor replacement or a standard printer exchange.”
}
}
]
}
}
