| Key Points | Details to Remember |
|---|---|
| 🔍 Understanding Kozikaza | Easy access and intuitive interface. |
| 🖥️ Installation | Free registration and quick setup. |
| 📐 Drafting the plan | Draw walls, windows, doors. |
| 🔄 3D transition | Visualize in volume, refine details. |
| 📤 Export | Download plans in PDF or image format. |
| 📊 Customization | Compare free options and premium features. |
Imagining the layout of your future home is exciting, but without suitable tools, you quickly become overwhelmed. With Kozikaza, you go from schematic drawing to realistic model in a few clicks. Throughout this guide, I will assist you in installing the platform, drawing your walls in 2D, switching to 3D, adding furniture and textures, then exporting your plan. Get ready to transform your ideas into a striking rendering, without needing an architect’s degree.
Somaire
Why choose Kozikaza to design your house in 3D
You might think all modeling software is complex and reserved for professionals. In truth, Kozikaza stands out for its gentle learning curve: the interface highlights clear icons, prefab models, and hover tips. This is especially valuable when starting out and not yet mastering the subtleties of architectural plans.
Moreover, the free version covers the essentials: room creation, insertion of openings, basic textures, furniture library. If you need advanced finishes (HD renders, special imports), the premium plan remains affordable. In any case, your first steps are commitment-free.
A user-friendly approach without technical jargon
You won’t have to decode a 200-page manual. Each tool comes with a short descriptive tooltip, and the online documentation illustrates each action with an animated image. This is a welcome change from programs where you click randomly, feeling like you’re learning by trial and error.
The modular dashboard lets you pin your favorite functions: if you often add stairs, simply drag the Stair icon to the top of the side panel.
First steps: install and configure your workspace
First of all, go to the official Kozikaza website. Registration involves a simple form: name, email, password. A few seconds later, you receive a confirmation link and there you are facing your new “digital construction site”.
The initial setup invites you to specify some parameters: unit of measurement (meters or feet), plan orientation (south at top or bottom), and project type (apartment, detached house, extension). This phase, often overlooked, conditions the coherence of dimensions and subsequent 3D lighting.
Set up the project
- Footprint selection: import an existing plan or start from scratch.
- Wall thickness adjustment: interior, exterior, partition.
- Orientation: define the south axis to simulate the sun’s path.
Note that by clicking on « Advanced », you can refine the thermal resistance of materials if you plan to study insulation or solar gains.
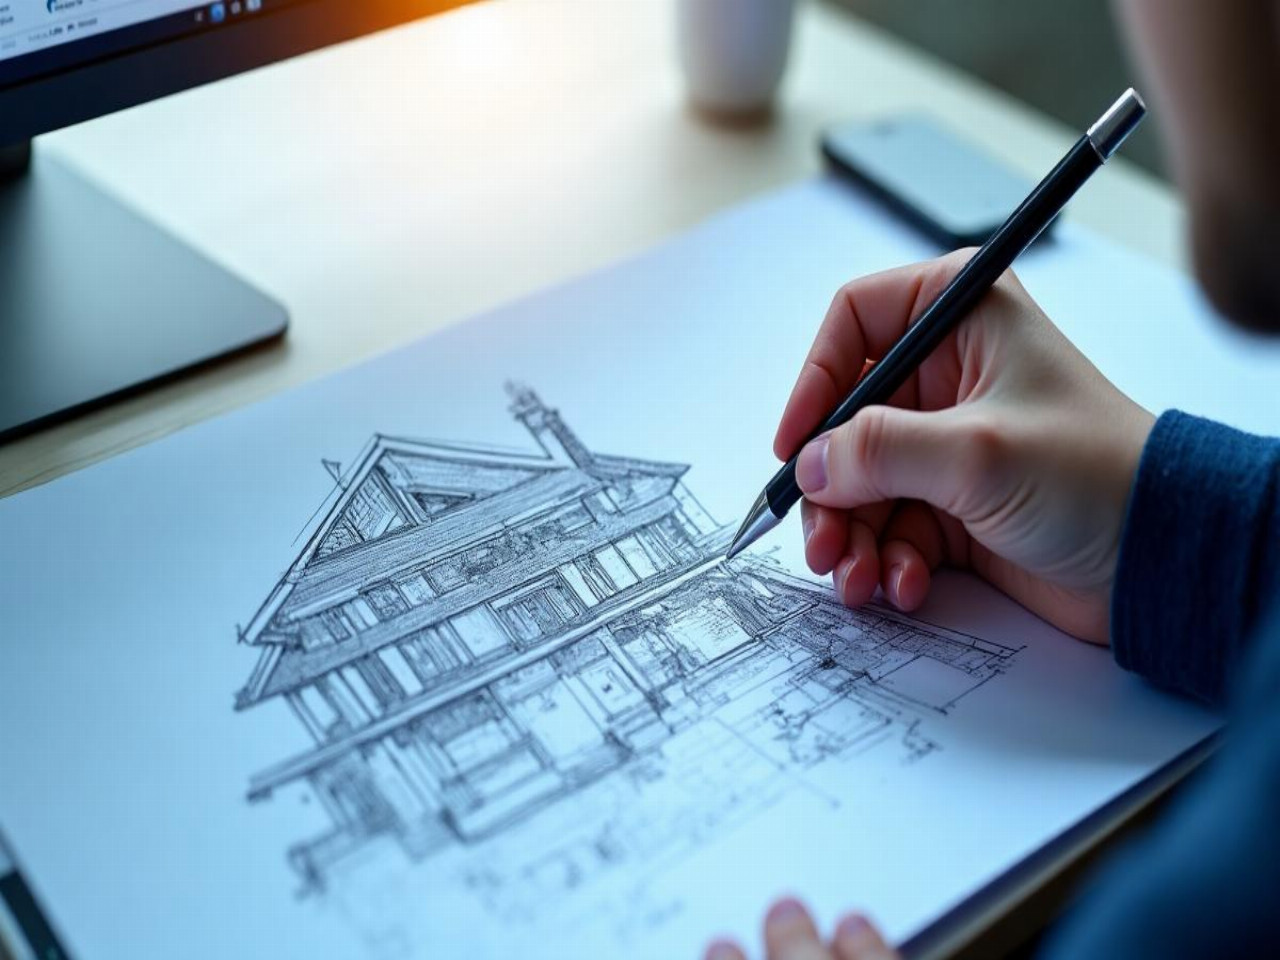
Step 1: draw your plan in 2D
This is the foundation of any project. In the « Plan » tab, the Wall tool is manipulated with the mouse: click to start, move to draw, click again to change direction. Dimensions are displayed in real time, and a double-click opens a panel to adjust the length or angle precisely.
Once the perimeter is defined, add doors and windows via the dropdown menu. Each element can be resized, rotated, or given a custom threshold. You can experiment with different window widths without risking breaking a wall in real life.
Tips for a clear plan
- Keep a simple legend: different colors for each type of space (day, night, services).
- Number your rooms: this simplifies tracking, especially if you work in a team.
- Activate the grid: a visual reference helps align furniture and partitions.
This care taken from the 2D stage will save you from having to correct everything after switching to 3D.
Step 2: switch to 3D and refine the model
The « 3D » button is located at the top right. As soon as you click, the interface switches to volumetric rendering. You have the freedom to navigate freely, like in a video game, to evaluate perspectives, ceiling height, and circulation between spaces.
Be careful, this is where the details that make the difference are born. Add a bookshelf behind a sofa to create a reading nook, place pendant lights to visually segment a large living room, or install planters on the terrace to green the facade.
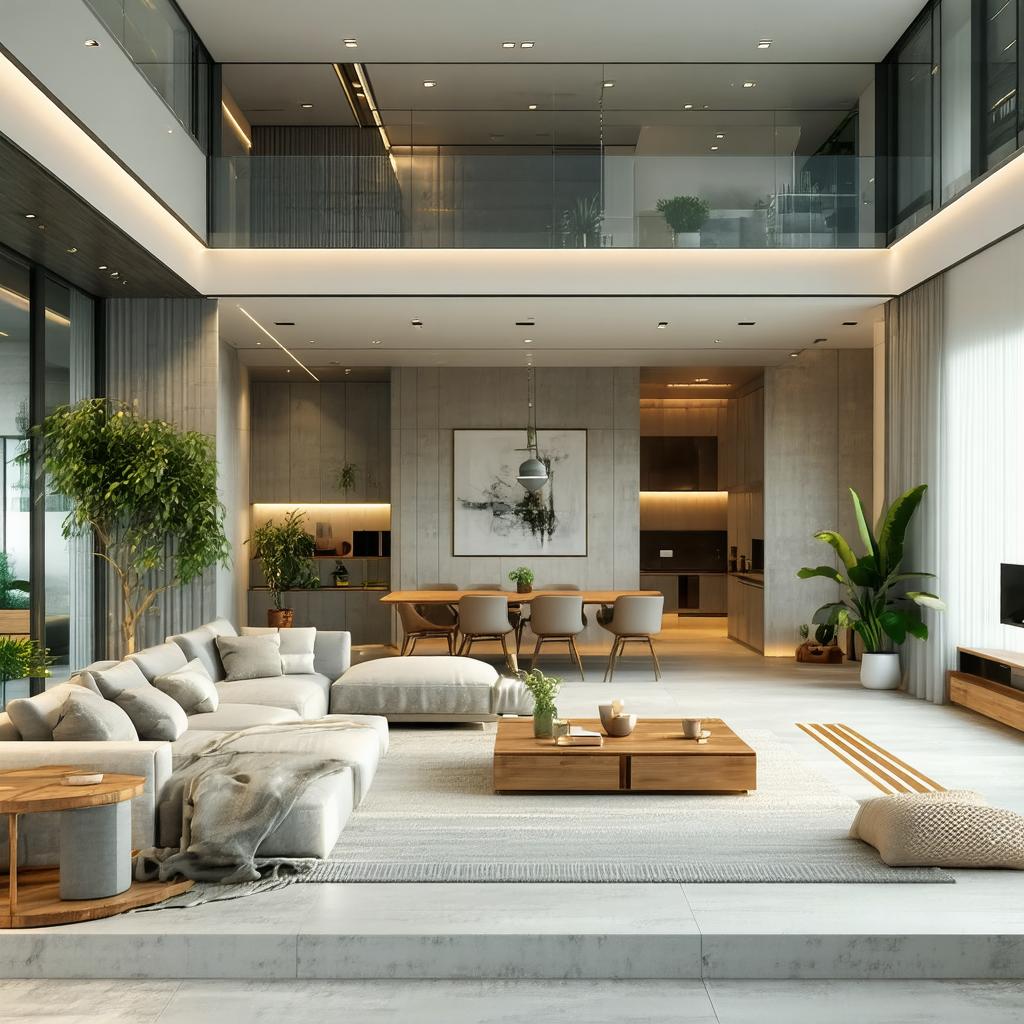
Know that the compact texture library allows you to quickly test different paint shades, flooring materials, or furniture finishes. You can swap an oak parquet floor for concrete tile with one click, making the exercise playful and truly exploratory.
Optimize the rendering
For a realistic preview, activate cast shadows and adjust the sun’s light intensity. You can create a sunrise in the east to simulate morning light in the master bedroom. These settings are essential if you plan to present your project to a client or your loved ones.
The « Automatic Decoration » option offers a stylized layout based on current trends. It’s a good base to tweak, of course, but it prevents you from getting stuck in front of a blank page.
Step 3: export and share your project
When the model satisfies you, it’s time to export it. Kozikaza offers several formats:
- HD image: for your presentations or social networks.
- 2D plan PDF: to print or submit to a builder.
- .kz file: to resume the design later on the same platform.
Additionally, you can generate an animated guided tour, a short film that moves from room to room. Convenient for making people dream without traveling.
Tips and Tricks for Effective Sharing
Integrate your HD image into a moodboard before sending it to your architect: juxtapose Pinterest inspirations, material samples, and a photo of the site. By placing everything on the same support, the project’s guiding thread becomes clear.
If you are working as a pair, invite your collaborator to the online session. Changes appear in real time, much like in a Google Docs document, which is quite practical for adjusting a detail without wasting time.
FAQ
Is Kozikaza completely free?
Yes, the essential 2D/3D plan functions and the basic library are accessible without a subscription. Some advanced options, such as HD rendering or access to premium objects, require a paid pass.
Can an existing plan be imported?
Absolutely, you can import a plan background in image format (JPG, PNG) to create your 2D layer on top. This facilitates the reuse of old documents or on-site surveys.
What is the measurement accuracy?
The software displays dimensions accurate to the nearest centimeter. You can manually enter a dimension accurate to the nearest millimeter in the editing panel to refine certain sensitive areas.
Is it possible to work offline?
No, Kozikaza operates entirely online. Your project is stored in the cloud, which ensures synchronization at each connection and automatic saving.
How do I share my model with a professional?
Generate a sharing link from the “Project” menu, enable read or edit access, then copy-paste this link into an email. The recipient will only have to click to view or modify the plan.
