

In a world where attention fades with the pace of notifications, video micro-training stands out as a high-impact format. Yet, condensing an educational message into barely five minutes while generating a concrete response from your learners remains a challenge. This article guides you step by step to structure, produce, and distribute a capsule that not only captivates but also prompts action.
Somaire
In brief
🎯 Clear objective: define from the start the precise skill you want to convey, with an explicit call to action.
🕒 Optimized structure: divide your five minutes into three key phases (introduction, demonstration, conclusion) to maintain attention.
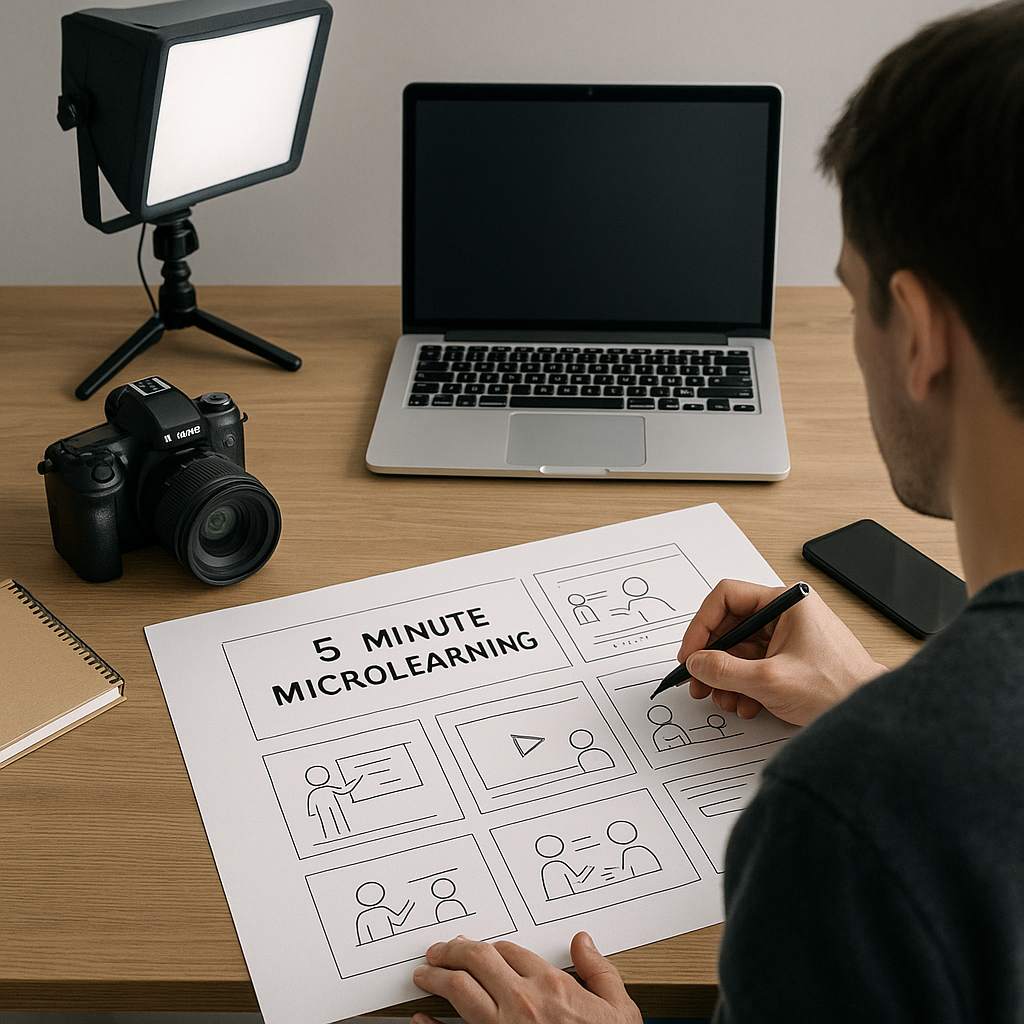
🎬 Precise storyboard: staging, visuals, and concise sequences ensure a clear and memorable message.
📈 Tracking and conversion: include a visible CTA and a light form to measure engagement and guide your prospects to the next step.
Why bet on video micro-training?
When we talk about training, we often imagine long learning sequences. However, the harsh truth of digital is that attention falters in less than two minutes. Micro-training is the opposite bet: delivering the essentials, without superfluous content, in a condensed format. It meets a strong audience desire: to get informed quickly and act immediately. Designed around a specific need, it avoids cognitive overload and offers an immediate sense of satisfaction, a key factor to encourage engagement and conversion.
Key steps to design impactful 5 minutes
1. Identify a unique and measurable objective
Before any shooting, ask yourself an essential question: what precise change do you want to provoke? Rather than “improve public speaking skills,” prefer “structure a pitch in 3 convincing points.” This level of granularity guides all your content decisions and creates a coherent message. An objective too broad will dilute your message; an objective too narrow risks leaving the audience wanting more. The ideal is a balance where the learner immediately perceives the added value and practical usefulness of the capsule.
2. Building an Effective Storyboard
One might think that five minutes doesn’t require a detailed plan, but it’s quite the opposite: every second counts. A storyboard helps you visualize each sequence in advance, anticipate transitions, and calibrate the pace. Divide the duration as follows:
| Phase | Duration | Objective |
|---|---|---|
| Introduction | 30 s | Hook, context, and promise |
| Development | 3 min | Steps, demonstration, examples |
| Conclusion & CTA | 1 min 30 s | Summary, call to action, and resources |
This structure gives you a clear and reassuring framework. You distribute your content, identify moments to insert visuals, and choose the tone that captures attention – whether dynamic, inquisitive, or friendly.
Production Techniques
Lighting and Sound: Leave Nothing to Chance
A grainy image or disruptive sound are your worst enemies. Even with a smartphone, invest in:
- A soft light source (softbox or LED ring) to avoid shadows and reflections.
- A lapel microphone for clear vocal rendering, without ambient noise.
- A stable tripod to eliminate any involuntary movement.
An oral tutorial can be excellent, but if it’s difficult to listen to or watch, the impact fades instantly. Your audience expects professional quality, even for a short clip.
Editing: Rhythm and Coherence
Editing is your second writing. Shortening pauses, speeding up certain parts, or adding infographics helps maintain a steady tempo. Don’t hesitate to:
- Add text overlays to reinforce key points.
- Insert quick transitions (cut, quick fade) to avoid monotony.
- Include visual markers (arrows, circles) to draw the eye to the crucial element.
Always keep in mind that every cut must serve the main objective and not decorate for decoration’s sake. Effectiveness takes precedence over flashy aesthetics.
Maximizing Conversion
Clear and Well-Positioned Call to Action
Your micro-training is not an end in itself, but a touchpoint in your funnel. Place a CTA from the conclusion, visible and actionable:
- Interactive button to download a supplement (PDF, checklist).
- Light form (name, email) integrated at the end of the video or on the viewing page.
- Limited offer (webinar, discount) to create a sense of urgency.
If the button is buried under a paragraph that’s too long, it becomes invisible. Simplify and test several labels to identify the one that converts best.
Tracking and Analysis
Installing precise tracking allows you to observe user behavior from the very first second:
- View rate (where the video is abandoned).
- Number of clicks on the CTA.
- Form completion rate.
These indicators are signals to adjust your script, editing, or button text. Thanks to this data, the micro-training becomes an evolving tool and not a static product.
FAQ
What is the ideal duration for a micro-training?
Generally, five minutes strikes a balance between conciseness and depth. This format allows covering a precise concept without tiring the learner.
Is professional equipment necessary?
A modern smartphone, combined with simple lighting and a lapel microphone, is enough for a quality result. The priority remains the content and the clarity of the speech.
How to maintain attention throughout the video?
Vary the visuals, keep a steady pace, and clearly state the benefits for the user. Using concrete examples or asking direct questions strengthens engagement.
