

Adspower offers a powerful solution for managing multi-account advertising profiles. In just a few minutes, you can install it, configure it, and launch your first Facebook or Google Ads campaigns without fearing platform restrictions. This comprehensive guide walks you through every step, from downloading to performance analysis.
Somaire
In Brief
🛠️ Simplified Installation: download the Windows or Mac client, follow the installation wizard, and create your first workspace in under 5 minutes.
⚙️ Clear Configuration: create dedicated profiles, add IP addresses or rotating proxies to isolate your accounts and optimize deliverability.
🚀 Optimized Campaigns: add your ad accounts, set your audiences, budgets, and creatives, then track your KPIs directly from the dashboard.
🔒 Enhanced Security: integrate optimal protection tools, manage team permissions, and archive your reports to stay compliant with best practices.
Why Choose Adspower?
The multiplication of ad accounts requires perfect isolation to avoid platform sanctions. Adspower offers a unique interface that manages your browsing profiles, simulates distinct environments, and automates IP rotation. This approach significantly reduces the risk of blocking while simplifying campaign management.
- Multi-profile: create as many virtual browsers as needed.
- Integrated Proxy: native support for static IPs or fine rotation.
- Automation: import/export accounts, scheduled tasks.
- Collaborative: secure profile sharing with your team.
Installing Adspower
The installation requires no advanced technical skills. A simple stable internet connection is enough to download the client adapted to your operating system.
Downloading the Client
Go to the official Adspower website and choose the Windows or macOS version. The file weighs about 150 MB and installs via a standard executable or DMG package.
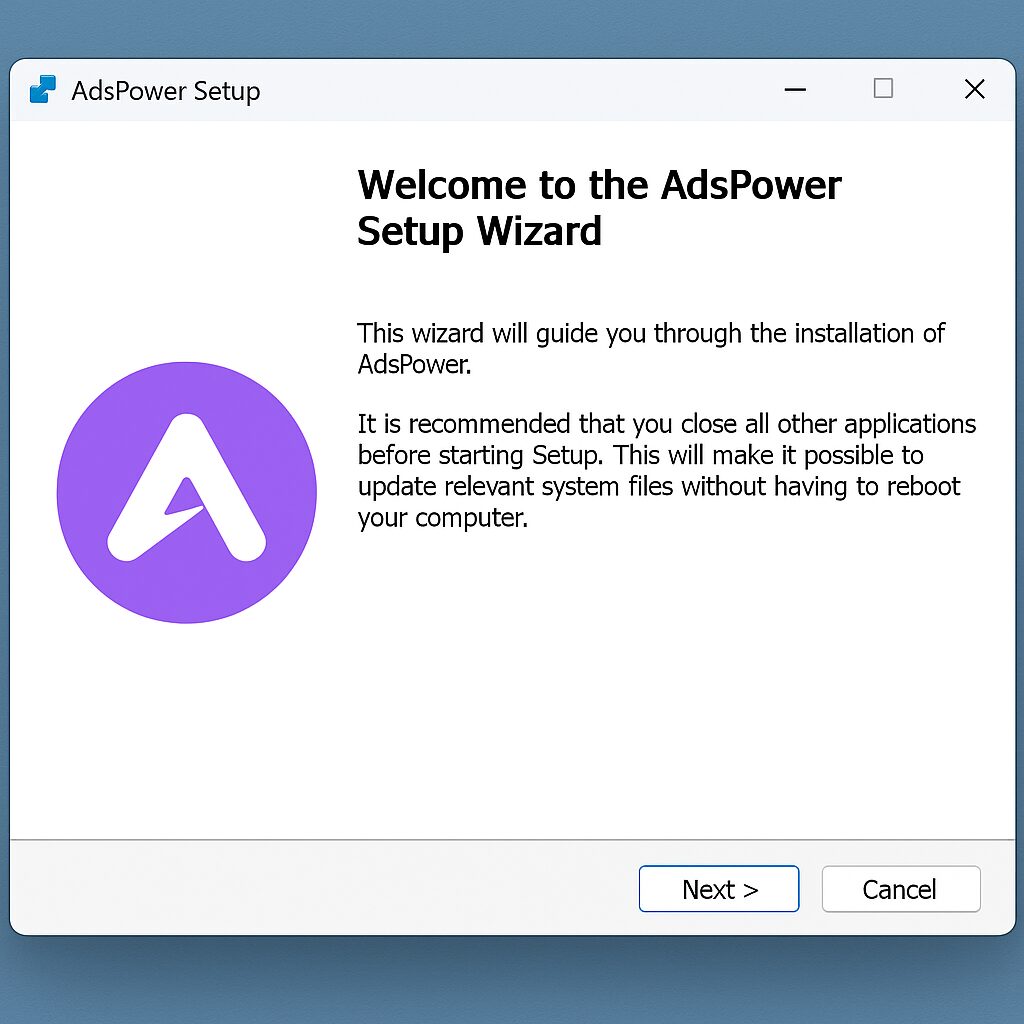
Installation Process
After launching the wizard:
- Accept the license agreement.
- Select the installation folder.
- Choose the option for automatic launch at startup (optional).
Once finished, Adspower starts with a first-step wizard inviting you to create your first profile.
Initial Configuration
The heart of Adspower lies in profile management: each profile corresponds to an independent browser with its own cache, cookies, and IP.
Creation and management of profiles
In the “Profile” tab, click on “New” to set up:
- Profile name (e.g. Campaign_September).
- Simulated operating system (Windows, Mac, Linux).
- Screen resolution and time zone.
You can then duplicate an existing profile to keep the same settings while changing the IP or device.
Integration of a rotating proxy
To access varied IPs without manual management, activate the rotating proxy feature. You import a list of URLs or APIs, set the rotation frequency, and Adspower takes care of the rest.
Advanced security
To enhance optimal protection, enable two-factor authentication, restrict profile access by password, and schedule regular backups of your data.
Launching the first campaigns
Once your environment is ready, the next step is to connect your advertising accounts and structure your campaign.
Adding advertising accounts
In “Account Management,” click “Add” then choose Facebook Ads, Google Ads, or TikTok Ads. The workflow guides you to authorize Adspower to access your account via OAuth, without ever storing your credentials.
Setting up a campaign
Configure:
- Objective (traffic, conversion, awareness).
- Audience (geographical areas, interests).
- Daily budget and duration.
- Visuals and texts.
Use the internal scheduler to test multiple creative variants and analyze the first data in real time.
Performance tracking
The dashboard centralizes:
| Metric | Description | Typical goal |
|---|---|---|
| Click-through rate (CTR) | Proportion of clicks to impressions | > 2% desirable |
| Cost per click (CPC) | Average spend per click | < €0.50 |
| Conversion | Completed action (purchase, form) | Variable by sector |
Filter your data by profile, period, or channel to identify the best-performing campaigns and adjust your bids.
Tips to go further
Adspower is not limited to profile management: its ecosystem allows automating complex tasks and adapting your processes to platform changes.
Workflow automation
Create scripts to daily import new accounts, export reports in CSV, then trigger Slack or email alerts in case of budget threshold breaches.
Maintenance best practices
Remember to:
- Regularly update the client to benefit from the latest features.
- Archive your old profiles to avoid overloading the database.
- Monitor error logs to anticipate system incompatibilities.
FAQ
- How to update Adspower without losing my profiles?
- Use the “Backup” function before updating, then re-import the archive into the new version.
- Can I share a profile with my team?
- Yes, enable the sharing option, set a password, and only share the secure link.
- What is the difference between a static proxy and a rotating proxy?
- The static proxy keeps the same IP, which is useful for consistency; the rotating proxy automatically changes IPs to diversify access.
- Is Adspower compatible with Mac and Windows?
- The official client natively supports macOS and Windows. For Linux, you can use a VM or Wine.
- How can I track my KPIs without logging in every day?
- Set up automatic report exports and receive them by email or via Webhook.
- Can the creation of new advertising accounts be automated?
- Yes, by using the Adspower API and scripts in Python or Node.js to import your accesses in batches.
