

| Key Points | Details to Remember |
|---|---|
| 📦 Definition | Create fake card numbers via an open-source tool. |
| 🛠️ Installation | Install Python and Namso-Gen dependencies. |
| ⚙️ Configuration | Set up options in a YAML file or via CLI. |
| 🚀 Initial Generation | Launch your first card generation tests. |
| 🔍 Customization | Adjust BINs and the number of generated cards. |
| 🔗 Integration | Connect Namso-Gen to a rotating proxy for large volumes. |
| 🔒 Security | Secure the environment with appropriate solutions. |
Namso-Gen is deployed in three key steps: install Python prerequisites, configure the generator via CLI or file, then launch your first generation sessions. In a few minutes, you produce fake card numbers compliant with Luhn standards for your tests and demonstrations.
Somaire
What is Namso-Gen?
Namso-Gen is an open-source utility that generates fake payment card numbers, valid according to the Luhn algorithm. It facilitates testing e-commerce applications, payment services, or APIs without handling real data.
The Essentials
- Command-line tool based on Python.
- Supports BIN customization.
- Useful for development, QA, and demonstrations.
1. Prerequisites and Installation
Before diving into Namso-Gen, check your dependencies and prepare a clean Python environment.
Check the Python Environment
- Python ≥ 3.7 installed (
python3 --version). - pip up to date (
pip install --upgrade pip). - Virtualenv recommended to isolate packages.
Installation Steps
- Clone the repository:
git clone https://github.com/savio-code/namso-gen.git - Enter the folder:
cd namso-gen - Create a virtual environment:
python3 -m venv venv - Activate and install:
source venv/bin/activate && pip install -r requirements.txt
Quote: « Namso-Gen offers quick onboarding thanks to its CLI simplicity and native YAML format for configuration. » – Official documentation
2. Initial Configuration
Configuration can be done via command line or through a YAML file. The latter stores your parameters in a reproducible way.
Basic YAML File
cards:
  bin: 453275
  count: 20
  expiry_year: 2025
  expiry_month: 12
- bin: first six digits of the card.
- count: number of cards to generate.
- expiry_year/month: expiration date.
Common CLI Options
--bin: set the BIN on the fly.--count: number of cards.--output: output file path (CSV/JSON).
To handle large volumes, consider pairing Namso-Gen with a reliable rotating proxy.
3. Launch Your First Generations
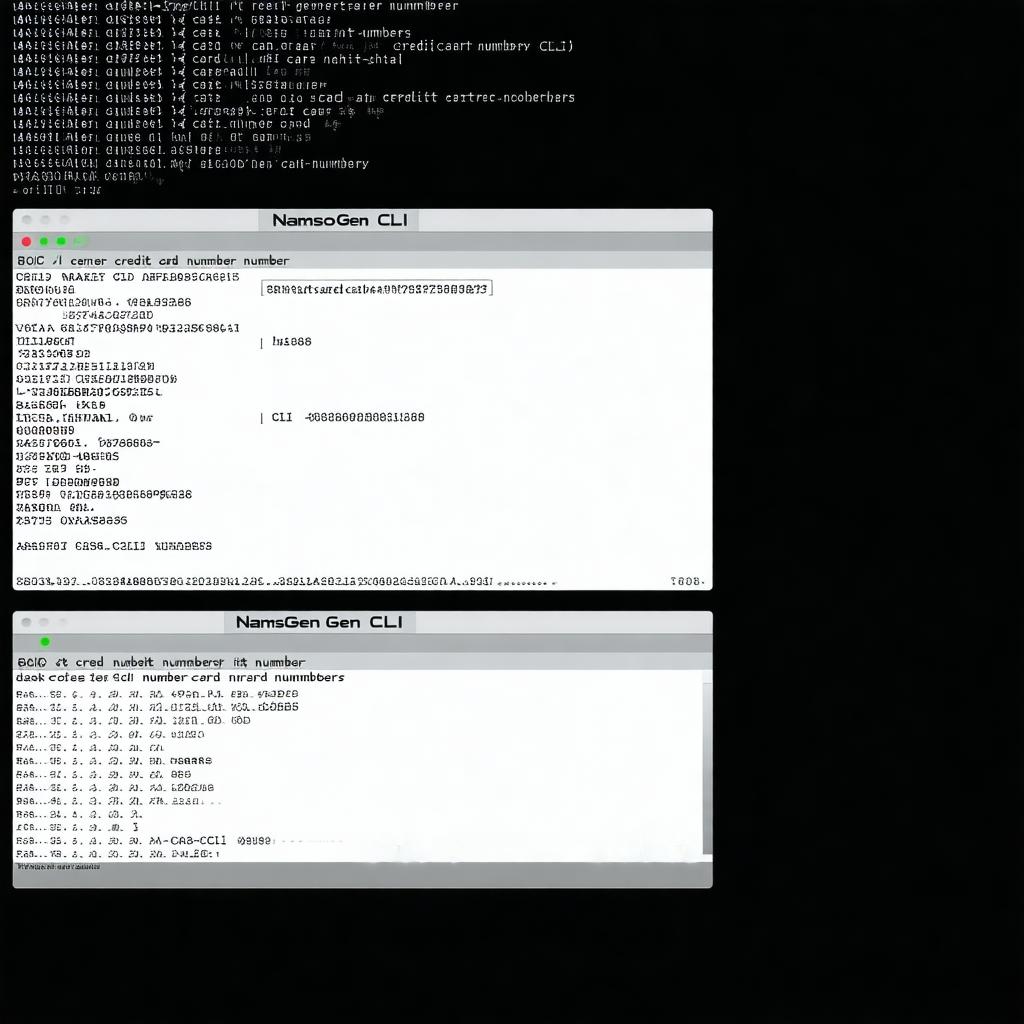
After configuration, run the main command: namso-gen --config config.yaml. The tool displays created cards in real time and saves them according to your preference.
Generate a Single Card
namso-gen --bin 455673 --count 1
# Output:
# 4556739845123456,12/2024,123
Example Results Table
| # | Number | Expiration | CVV |
|---|---|---|---|
| 1 | 4556739845123456 | 12/2024 | 123 |
| 2 | 4532754623457890 | 05/2025 | 456 |
4. Best Practices and Use Cases
For a stable and secure workflow, here are some proven tips:
- Automate your scripts via cron or CI/CD integration.
- Isolate the environment with tools like Dicloak.
- Vary the BINs to test different scenarios.
- Keep your outputs in JSON format for automated processing.
- Document each batch in a log for traceability.
FAQ
- 1. What is Namso-Gen and what is it for?
- Namso-Gen is a fake card number generator, useful for testing payment applications without sensitive data.
- 2. On which OS does Namso-Gen run?
- All systems supporting Python ≥ 3.7 (Linux, macOS, Windows).
- 3. How to customize the BIN?
- Via the
--binoption in CLI or in your YAML configuration file. - 4. Can cards be generated in bulk?
- Yes, simply adjust the
countparameter as needed. - 5. How to export the output?
- Use the
--output path/file.csvor JSON option. - 6. Is a proxy required for Namso-Gen?
- A proxy is not mandatory but recommended to distribute requests in large volumes.
- 7. What expiration date formats are supported?
- MM/YYYY, standard for most tests.
- 8. How to secure my installation?
- By isolating the virtual environment and installing protection tools like Dicloak.
