
| Key Points | Details to Remember |
|---|---|
| 📦 Unpacking | Check the contents and keep the documentation |
| 🔌 Connection | Connect the power and network before any configuration |
| 🔑 Access | Access the interface via the mobile app or the web interface |
| ⚙️ Configuration | Change the admin password and perform the first update |
| 🔒 Security | Enable backups and automatic updates |
| 🧰 Maintenance | Schedule checks and export the configuration |
You just bought My Proxima and want to install it stress-free? This guide details, step by step, everything you need to know to go from the box to an operational and secure device. No unnecessary jargon: we move forward together, from opening the box to the first backups, emphasizing actions that avoid recurring problems. If you are a beginner, follow the steps in order; if you have some experience, jump directly to the sections that interest you.
Somaire
Before starting: checks and preparation 🧾
Taking two minutes to organize often saves hours later. Take out the manual, note the credentials printed on the product label, and prepare your smartphone or computer. Make sure you have:
- the power cable and any provided network cable;
- Wi-Fi credentials or access to your internet box if My Proxima communicates via your router;
- a valid email account for account creation or receiving activation codes;
- access to the recommended mobile app or a recent browser for the web interface.
Also note that some devices require a temporary username and password provided in the box. Do not discard them: keep them until the first successful login and password change.
Unpacking and connection: best practices 📦🔌
Check the contents
Open the box on a clean surface and list each item: device, adapter, Ethernet cable, screws, documentation, any detachable antennas. If something is missing, report it to the seller with a photo. Keeping the box for a few days can be useful in case of return.
Physical connection
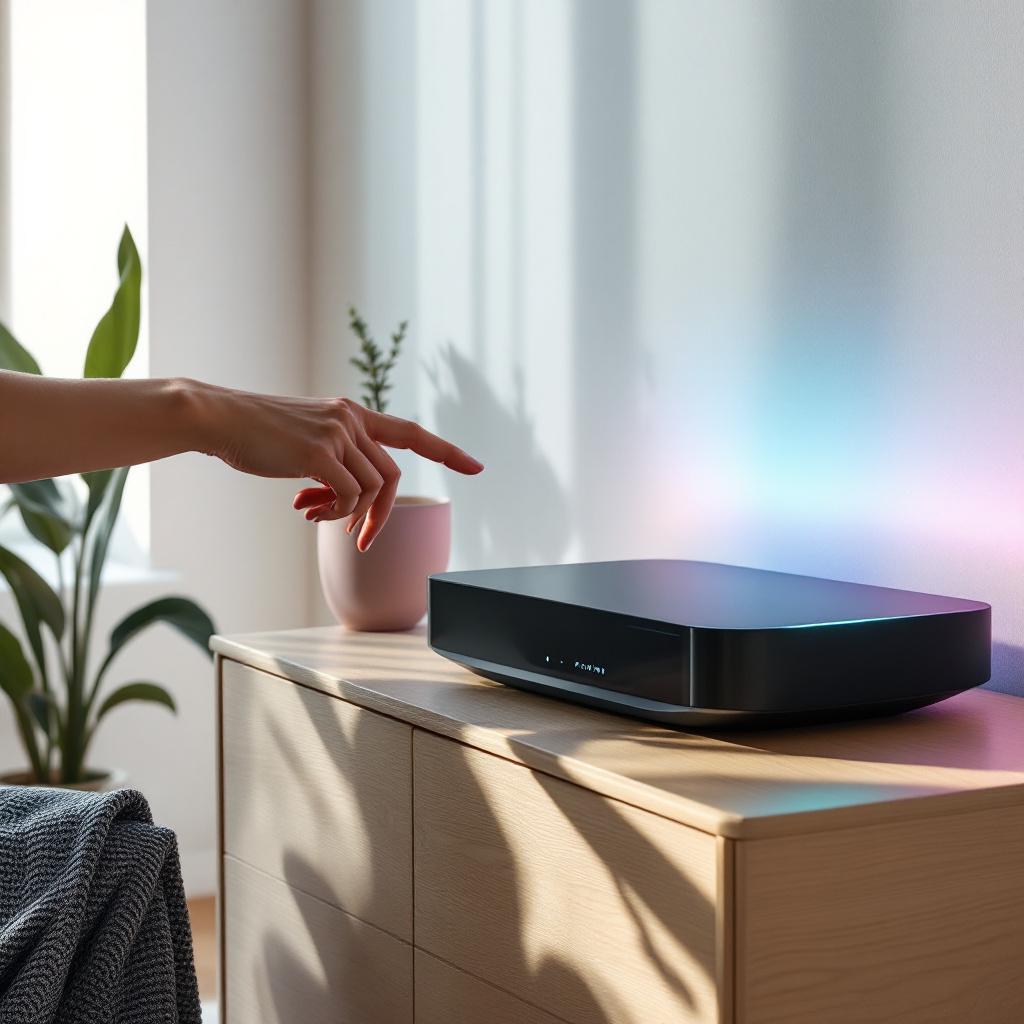
Install My Proxima where it will be used: free ventilation, not inside a closed cabinet. Plug in the power, then, if necessary, connect an Ethernet cable between the device and your box. The order of operations matters: often, plugging in the power before the network allows the device to start cleanly and obtain a network address via DHCP.
Accessing the configuration interface
Via the mobile application
Many manufacturers prefer a mobile app for the initial installation: downloading, account creation, automatic device discovery. Launch the app, allow the requested permissions (local network, notifications), and let it detect My Proxima. The guided experience simplifies sensitive steps such as entering the Wi‑Fi key or Bluetooth pairing.
Via the web interface
If you prefer a browser, typing the local address indicated on the label (often an IP address or a short URL) opens the administration panel. If no information is available, check the list of devices on your router to find the assigned IP. Common example: 192.168.x.x — but don’t limit yourself to a single value: some networks use other ranges. On the first connection, use the default credentials provided, then change them immediately.
Initial configuration and step-by-step activation ✅
The initial setup should be quick if you follow these steps: account creation, network settings, update, then service activation. Here is a pragmatic action plan:
- Create or link a user account if requested. Choose a long and unique password.
- Assign a clear name to the device for easy identification (e.g., “Proxima-LivingRoom”).
- Configure network parameters: dynamic or static IP according to your needs; if unsure, leave DHCP.
- Apply Wi‑Fi settings (SSID name, WPA2/WPA3 security) if the device broadcasts a network.
- Update the firmware as soon as possible to benefit from fixes and improvements.
The activation step may involve sending a code by email or SMS. If the email does not arrive, check spam filters and ensure the device clock is correct: a desynchronized clock sometimes blocks activation.
Security: strengthen protection from installation 🔒
Security is not optional. Change the admin password, disable unnecessary services (e.g., WPS for Wi‑Fi networks), and enable automatic updates if available. For more advanced needs, pairing a protection tool adds an extra layer: Dicloak is an example of a tool designed to harden access and encrypt communications — useful if you handle sensitive data.
Finally, limit administrator accounts and create guest accounts with restricted rights. A quick permission audit, even basic, significantly reduces the risk of exploitation by a third party.
Integrations and automations ✨
My Proxima becomes truly useful when it communicates with other tools: cloud backup, email alerts, automation scenarios. If you want to connect workflows between services, consider automation platforms: many allow triggering actions from an event generated by your device. For example, using specialized solutions facilitates ConnexaFlow to automate repetitive tasks (backup, alert forwarding, synchronization).
For email notifications, choose between IMAP and POP depending on your needs: IMAP keeps messages on the server side and is preferable if multiple devices need to read the mailbox; POP downloads and often deletes the message from the server. A quick read of the technical comparison will help you decide: IMAP is generally more flexible for multi-platform access.
Common Troubleshooting: Frequent Problems and Quick Solutions 🛠️
Some issues often recur among beginners: inaccessible interface, no internet connection, or blocked activation. Here is a pragmatic checklist:
- Restart the device and the box: the logic of “turn off/wait/restart” resolves many temporary blockages.
- Check the LEDs and their meanings via the documentation — they often provide the first clue.
- Reconnect the Ethernet cable physically or test another port on the router.
- Reset to factory settings if a change has locked access (be prepared to reconfigure afterwards).
- Consult the logs or app history to identify a specific error message.
For advanced uses such as traffic redirection or setting up a tunnel, you might need a specialized proxy. If your activity requires frequent IP renewal or rotation of access points, a rotating proxy service can be integrated, but consider this option only if you understand the network and legal implications.
Regular Maintenance and Backups 🗄️
A well-managed device is a reliable device. Schedule a monthly check: firmware update, backup control, user account verification. Export the configuration after each major change and keep these files in a secure location. In case of hardware failure, a recent configuration will allow you to restore identical service within minutes on a new device.
Final Checklist Before Commissioning 📋
- Admin password changed
- Firmware up to date
- Access tested from another device
- Backup exported
- Notifications configured (email or push)
FAQ — Frequently Asked Questions
Q: How long does the installation take?
A: Allow 20–45 minutes for the basic installation if everything is ready; an hour if you do advanced settings and a firmware update.Q: Where can I find the IP address if I don’t see the device?
A: Look on your router’s interface in the list of connected devices, or use a LAN scanning app. The product label may also indicate a local access URL.Q: Activation requires a code I did not receive.
A: Check your spam folder, retry sending, and ensure the device’s local clock is correct. If the problem persists, contact support with the product reference.Q: Should I connect Mon Proxima directly to the box or via a switch?
A: Both work. To avoid complications during installation, first connect directly to the box, then introduce a switch if necessary after verifying operation.
Installing Mon Proxima does not require being a network engineer, but some attention and simple checks. By following the proposed order and applying good security practices, you get a reliable and scalable service. If you encounter specific cases, note the error messages precisely: they effectively guide troubleshooting.
{
“@context”: “https://schema.org”,
“@type”: “FAQPage”,
“mainEntity”: [
{
“@type”: “Question”,
“name”: “How long does the installation take?”,
“acceptedAnswer”: {
“@type”: “Answer”,
“text”: “Allow 20–45 minutes for the basic installation if everything is ready; one hour if you do advanced settings and a firmware update.”
}
},
{
“@type”: “Question”,
“name”: “Where can I find the IP address if I don’t see the device?”,
“acceptedAnswer”: {
“@type”: “Answer”,
“text”: “Look on your router’s interface in the list of connected devices, or use a LAN scanning application. The product label may also indicate a local access URL.”
}
},
{
“@type”: “Question”,
“name”: “Activation requires a code that I did not receive.”,
“acceptedAnswer”: {
“@type”: “Answer”,
“text”: “Check your spam folder, try resending, and make sure the device’s local clock is correct. If the problem persists, contact support with the product reference.”
}
}
]
}
{
“@context”: “https://schema.org”,
“@type”: “WebPage”,
“about”: {
“@type”: “Thing”,
“name”: “installation and activation of My Proxima”
},
“keywords”: [“my proxima”, “installation”, “activation”, “configuration”, “security”]
}
